
Many learnings in life are akin to learning to ride a bicycle: you have to try it out yourself in order to learn it! Sure, you can read books and theory about how to ride a bike, but without any actual practice, you won’t get far.
Coding and many technical & data skills are just the same: you need practice, practice and a bit more practice! Data visualization is no exception, so to become quite proficient in it, it’s best if you create your own data vizzes.
Of course you might have some questions, including how & where to get started. Hopefully this post will answer them all.
Where should I start?
Personally, I’d recommend you to start your data vizualization journey with Tableau, one of the best known data viz softwares out there. Of course there is also PowerBI (Microsoft’s data viz software) and other similar software, but in this post I’ll be focusing on Tableau.
How much will it cost? I’ve heard that Tableau licenses can be pricey.
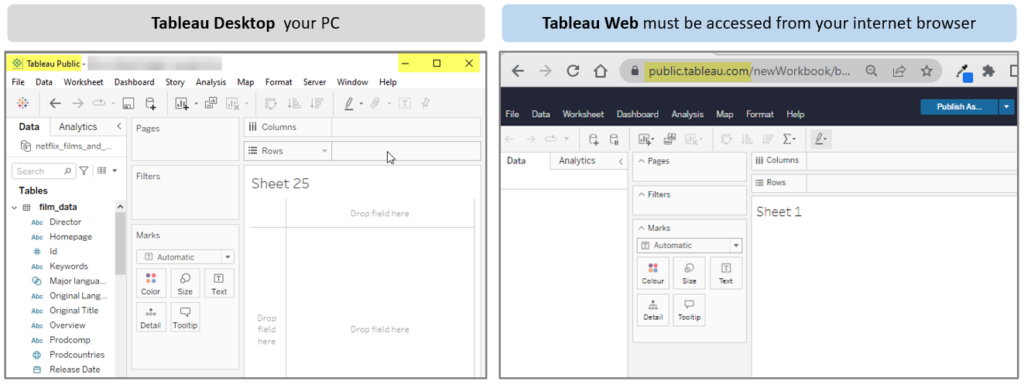
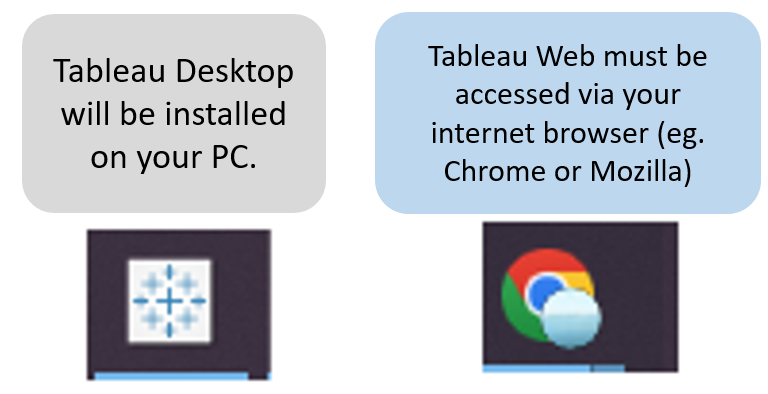
It doesn’t have to cost you anything, as Tableau offers a free Desktop version that you can download and use on your own PC – you don’t need to buy a license to use this version.
What if I don’t want to or can’t download any software into my PC?
Tableau also offers a free web version (ie. a version that you can use via your internet browser such as Google Chrome), which you can access just by going to the Tableau Public website.
If these free Tableau versions exist, why do people use the paid version?
As with many free options out there, they tend to have caveats. In the case of Tableau, its free version (ie. Tableau Public) makes all your data public by default. Yes, you read that right, anything that you upload to Tableau Public (via the Desktop or the web version) will always be public. This applies to data sets and any dashboards/data vizzes you create.
Don’t be discouraged by this though, as the free version is still super useful for learning Tableau. As long as you use it with public data (eg. any data that you can find on Wikipedia) and make sure you don’t upload any private/sensitive data, you will be fine.
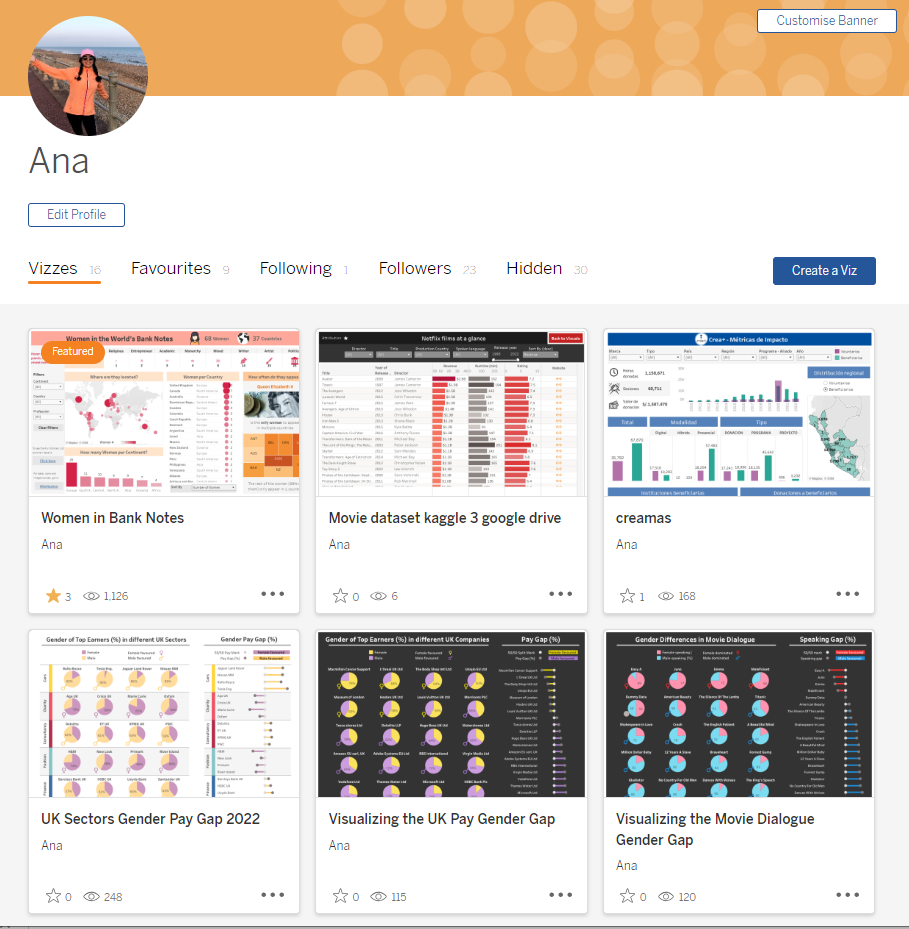
An advantage of making things public is that your Tableau Public profile can be used as an online portfolio of your data vizualizations. This can be pretty handy when wanting to showcase your work to anyone in the internet, including potential employers. For example, I have my own Tableau Public profile where I keep all the data vizzes I’ve created so far – see the image below.
OK, I want to try Tableau. Now what shall I do?
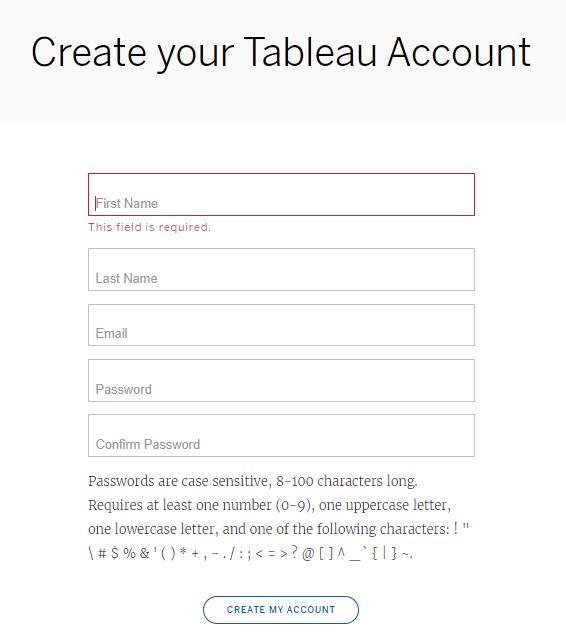
Create a Tableau Public account
- Create an account on the Tableau Public website. Make sure to follow all the steps provided on the registration process, including verifying your email.
2. Sometimes the registration process isn’t entirely clear. Visit this link to make sure your registration is complete. You might see the following screen, prompting you to select your Region.

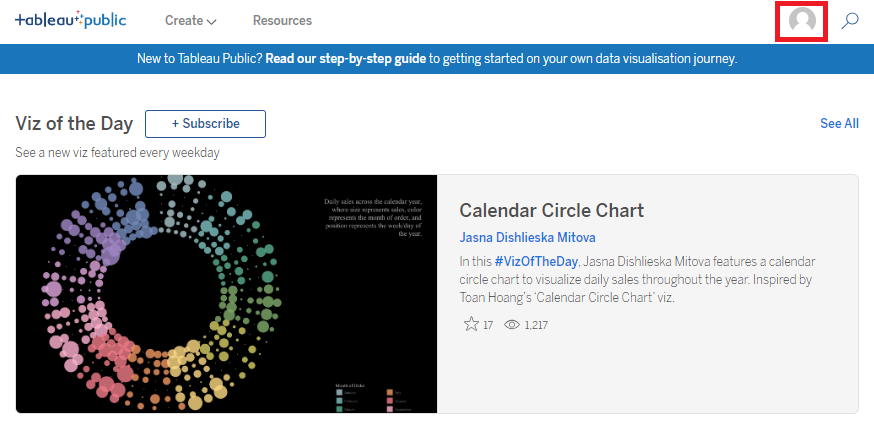
3. Once you have created your Tableau Public account, use the person icon on the top right corner (red rectangle on the below screenshot) to navigate to your personal Tableau Public Profile This is the place that will store all your data vizzes!
Make a note of that link or bookmark it as it will be super handy when wanting to show your data vizzes to others – simply send them the link to your profile.
Optional but (highly) recommended: download Tableau to your computer
As mentioned before, Tableau offers a free desktop version which you can download and install on your personal computer. Yes, you read that right, it is free! With the caveat that it will not let you save files to your local PC – instead it will save any files (ie. workbooks & data) directly to your Tableau Public profile.
I personally recommend you download the Desktop version as it offers more features and functionalities than the web based option. If you want to learn Tableau to the best extent, then make sure you do so by practising on the desktop version – this is the version you will most likely be using in your office as usually employers will buy Tableau licenses for their employees.
Add some data to Tableau
By now you should have decided which Tableau version you will use in the next steps (Desktop or Web). If you opted for Tableau Desktop then go ahead and open the application. Or if you opted for Tableau Web, create a new workbook on the web version.
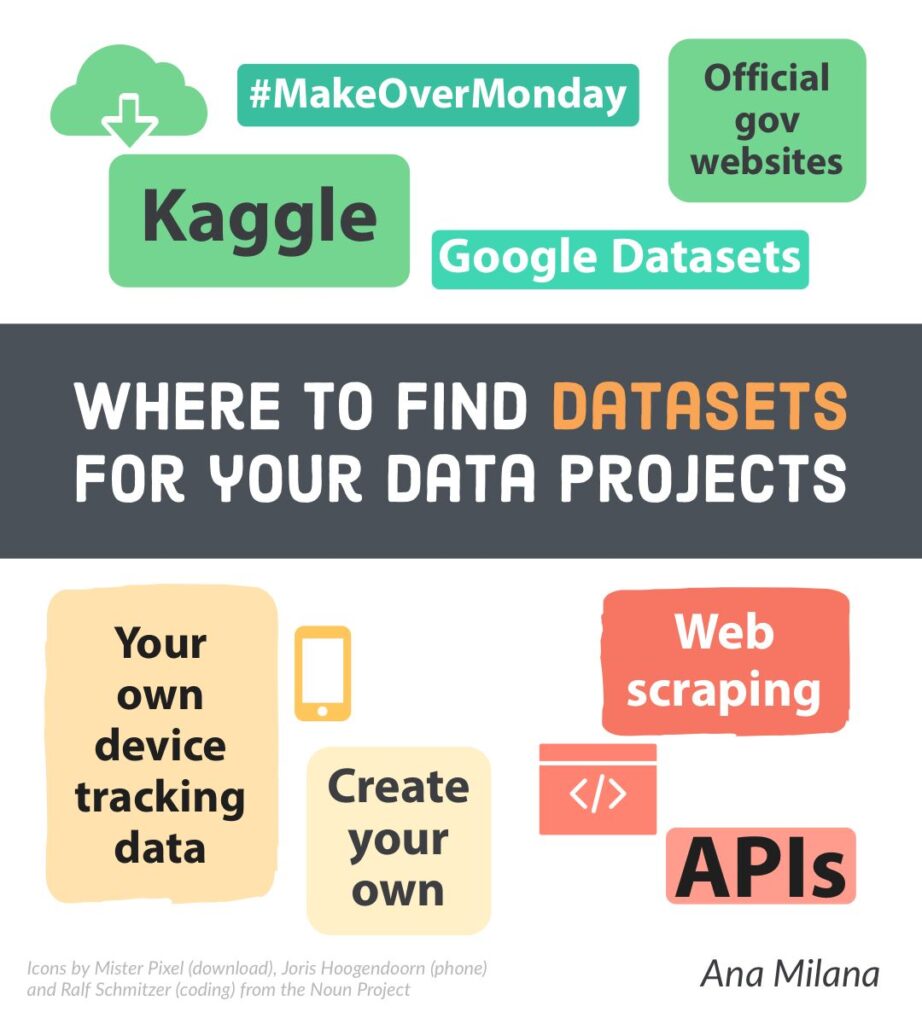
The next step towards your vizzing journey is to find some data to upload to Tableau (to either of the Tableau versions you’ll be working on). There are many places to find data out there, and I’ve summarised some on the below diagram.
Tip: I recommend you use the datasets from the CORGIS website, as they’ve been carefully curated by a group of academics to help students. The datasets come in useful formats such as CSVs and JSON.
Start vizzing!
Now that you have some data to work with, go ahead to your first Tableau Sheet and try to create your first graph! You can do so by following simple online tutorials, and by dragging and dropping your data fields into your sheet.
If you want to learn more, do join my upcoming Tableau Basics workshop where I’ll show you how to create data visuals in simple and quick Tableau steps!
[…] What if you still want to learn to use Tableau but can’t get hold of a licence? You can always opt for Tableau Public, as I have described on my previous post. […]